+86 18101795790
+86 18101795790
Contact:Gensors
Phone:+86 18101795790
TEL:+86 021-67733633
Email:sales@bmbond.com
Address:22, Lane 123 Shenmei Road Pudong New District Shanghai, China
A pressure scanning valve, or Electronically Scanned Pressure (ESP) system, is a critical tool in aerodynamics, fluid
dynamics testing, and high-precision process control. It enables the highly synchronized, high-speed, and accurate
measurement of dozens or even hundreds of pressure channels. This precision is not achieved by a single
technology but is the result of a system integrating precision mechanics, advanced electronics, intelligent
algorithms, and rigorous calibration.

I. Working Principle and Basic Components
To understand its high accuracy, one must first grasp its fundamental difference from traditional mechanical scanivalves. Traditional devices use a rotating valve to sequentially connect multiple measurement points to a single sensor, suffering from fatal flaws like lack of synchronization, significant hysteresis, and wear.
The core concept of a pressure scanner is: to equip each measurement point with its own dedicated, miniature pressure sensor, and sample/read all these sensors nearly simultaneously via a high-speed multiplexed data acquisition system.
A typical high-accuracy pressure scanner system includes:
Pressure Sensor Array: The core, typically comprising dozens of silicon piezoresistive or capacitive micro-sensors integrated into a single module.
Multiplexer & High-Speed ADC: Rapidly and sequentially converts each sensor's analog signal to digital.
Temperature Control System: Maintains the entire sensor array at a constant setpoint above ambient temperature with high stability.
Pressure Reference Module: Provides a high-precision reference pressure for real-time sensor calibration.
High-Speed Microprocessor & Interface: Performs calculations, temperature compensation, real-time calibration, and data transmission.
Software: For system control, data acquisition, and processing.
II. Core Technologies Enabling High Accuracy
1. Inherent Sensor Performance & Miniaturization
High-accuracy scanners typically use silicon piezoresistive sensors due to their excellent properties:
High Sensitivity & High Natural Frequency: Enables detection of small pressure changes and rapid fluctuations.
Low Hysteresis/Creep: Single-crystal silicon ensures high repeatability.
Miniaturization: Allows dense packing of sensors, ensuring they experience highly consistent physical conditions.
Example Performance: Initial sensor errors (non-linearity, hysteresis) are often trimmed to an exceptional ±0.05% FS to ±0.1% FS, forming the accuracy foundation.
2. Precision Temperature Control & Compensation
Temperature is the primary enemy of sensor accuracy, causing zero and sensitivity drift. Scanners employ an "Active Oven-Control" strategy:
Heated Enclosure: The sensor module is sealed in an insulated chamber and heated to a stable setpoint (e.g., 50°C), minimizing impact from ambient swings.
High Stability: Temperature can be controlled within ±0.1°C or better.
Software Compensation: Each sensor's behavior across temperature and pressure is characterized pre-delivery. The system uses a real-time temperature reading and a mathematical model to compensate every reading.
Accuracy Gain: This reduces temperature-induced error from potentially 1-2% FS to the order of ±0.01% FS.
3. Real-Time In-Situ Calibration
This is the "killer feature" for long-term stability and accuracy. The system uses internal high-precision reference pressures.
Automated Process: Internal valves periodically connect all measurement channels to a common reference port.
Zero Calibration: Measures sensor output at a known "zero" pressure (e.g., vacuum or atmosphere).
Real-Time Correction: The system calculates the drift ("offset") from the original zero and subtracts it from all subsequent live measurement data.
Accuracy Gain: Mitigates long-term drift, enhancing 30-day stability from >0.1% FS to levels like 0.02% FS.
4. Advanced Electronic Signal Processing
High-Resolution ADC: 24-bit or higher ADCs ensure minute pressure changes are resolved.
Digital Filtering: Suppresses electronic noise for cleaner, more stable readings.
Synchronized Sampling: High-speed electronics minimize the time skew between channel samples to microseconds, enabling effectively "synchronous" measurement for most applications.
5. Rigorous Factory Calibration & Traceability
Each unit is calibrated before shipment across its operating range against superior standards.
Full Characterization: Each channel is calibrated at multiple temperatures and pressure points, generating a unique calibration matrix with compensation coefficients.
Traceability: This ensures measurement results are traceable to national/international standards.
III. Practical Essentials for High-Accuracy Measurement
Proper use is critical to maintaining performance.
Tubing/Piping: Use short, stout tubing to minimize lag and attenuation. Avoid leaks.
Model Preparation: Pressure tap design and machining must be precise.
Recalibration: Requires periodic (typically annual) factory recertification.
Environment: Avoid vibration and contamination of pressure ports.
Summary
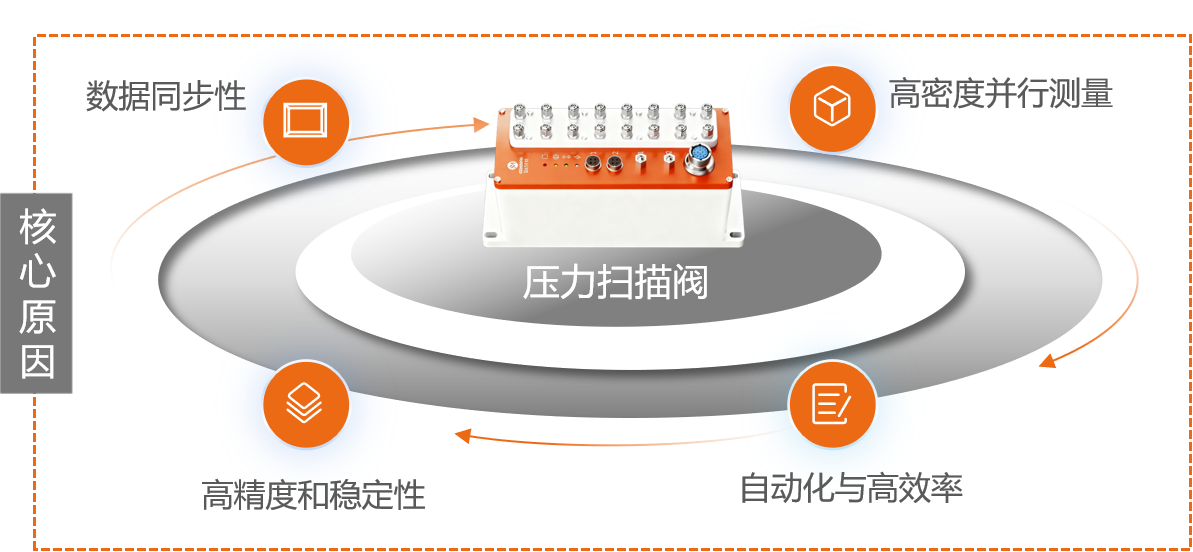
The high accuracy of a pressure scanner is the combined result of four pillars: high-performance sensors, precision temperature control, revolutionary real-time in-situ calibration, and intelligent software compensation. When combined with careful system design and rigorous operational practice, these elements suppress error sources to their limits, delivering exceptional measurement performance.
Copyright © 2009-2025 BM Genuine Sensing Technology (Shanghai)Co.,Ltd. All Rights Reserved.